About Us
Serving Decatur, Illinois/ Champaign, Illinois/ Springfield, Illinois/ Bloomington, Illinois/ Danville, Illinois/ Peoria, Illinois/ Petersburg, Illinois/ Charleston, Illinois/ Shelbyville, Illinois/ Effingham, Illinois/ Taylorville, Illinois/ Vandalia, Illinois/ Pana, Illinois/ Marion, Illinois/ Kankakee, Illinois/ Alton, Illinois/ Paducah, Kentucky/Indianapolis, Indiana and the surrounding areas.
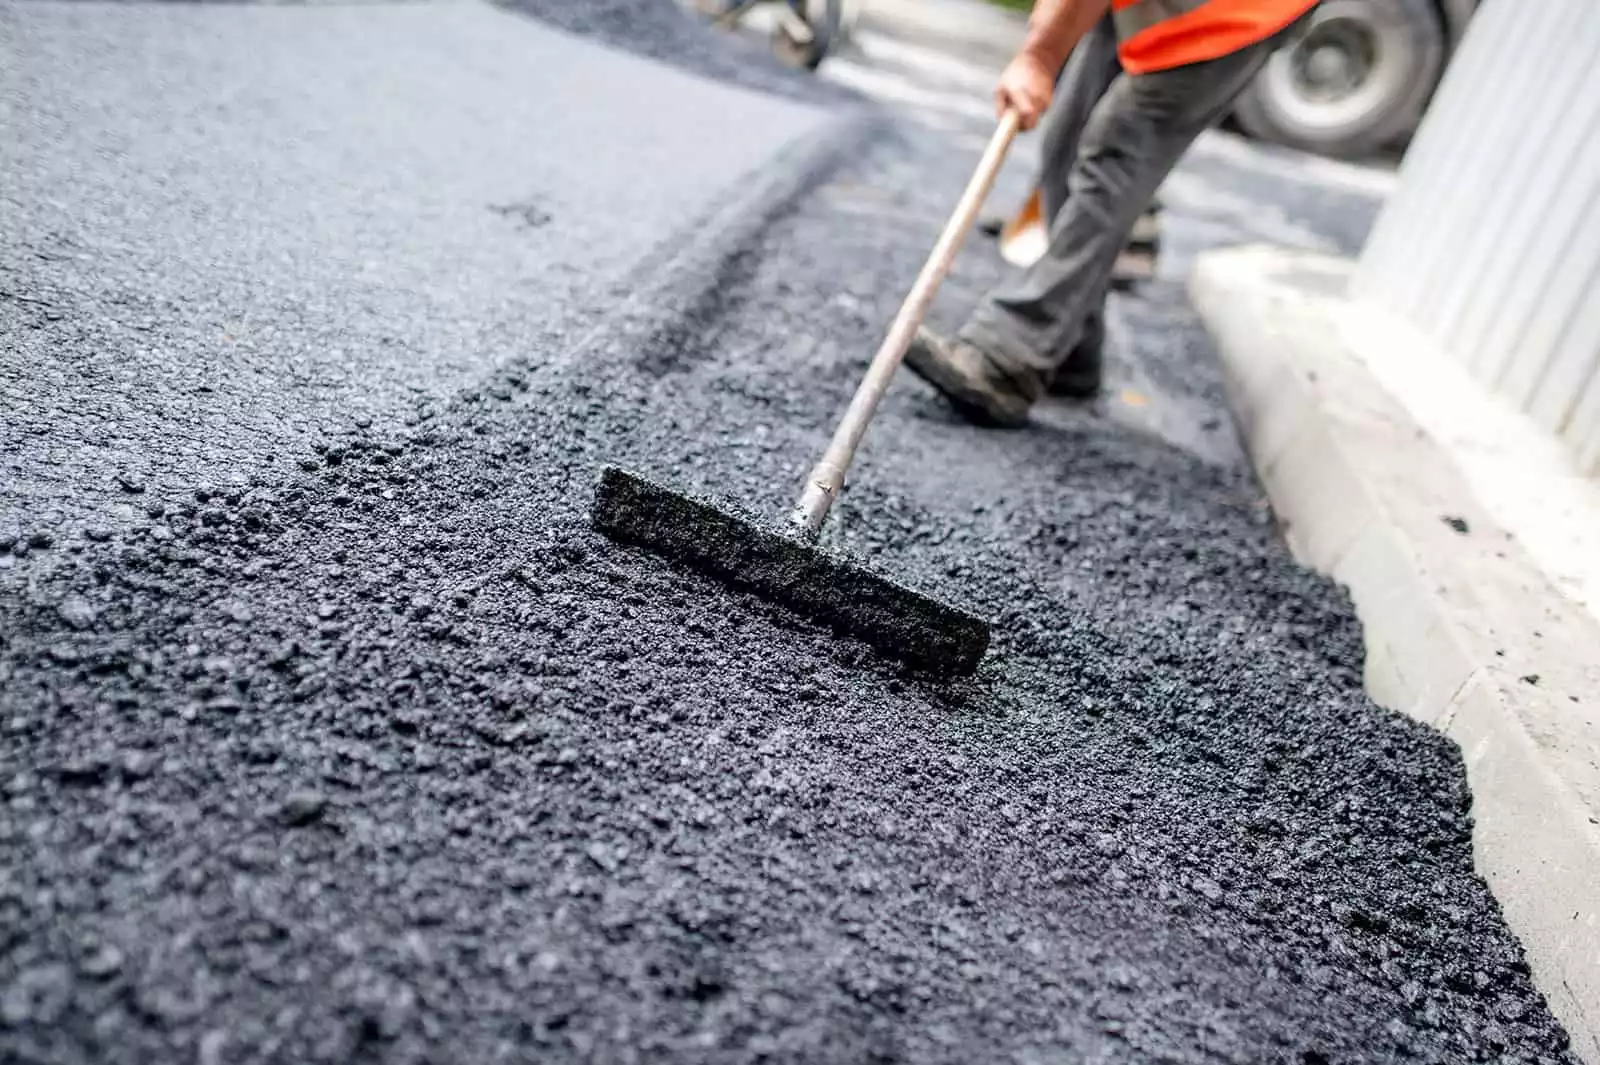
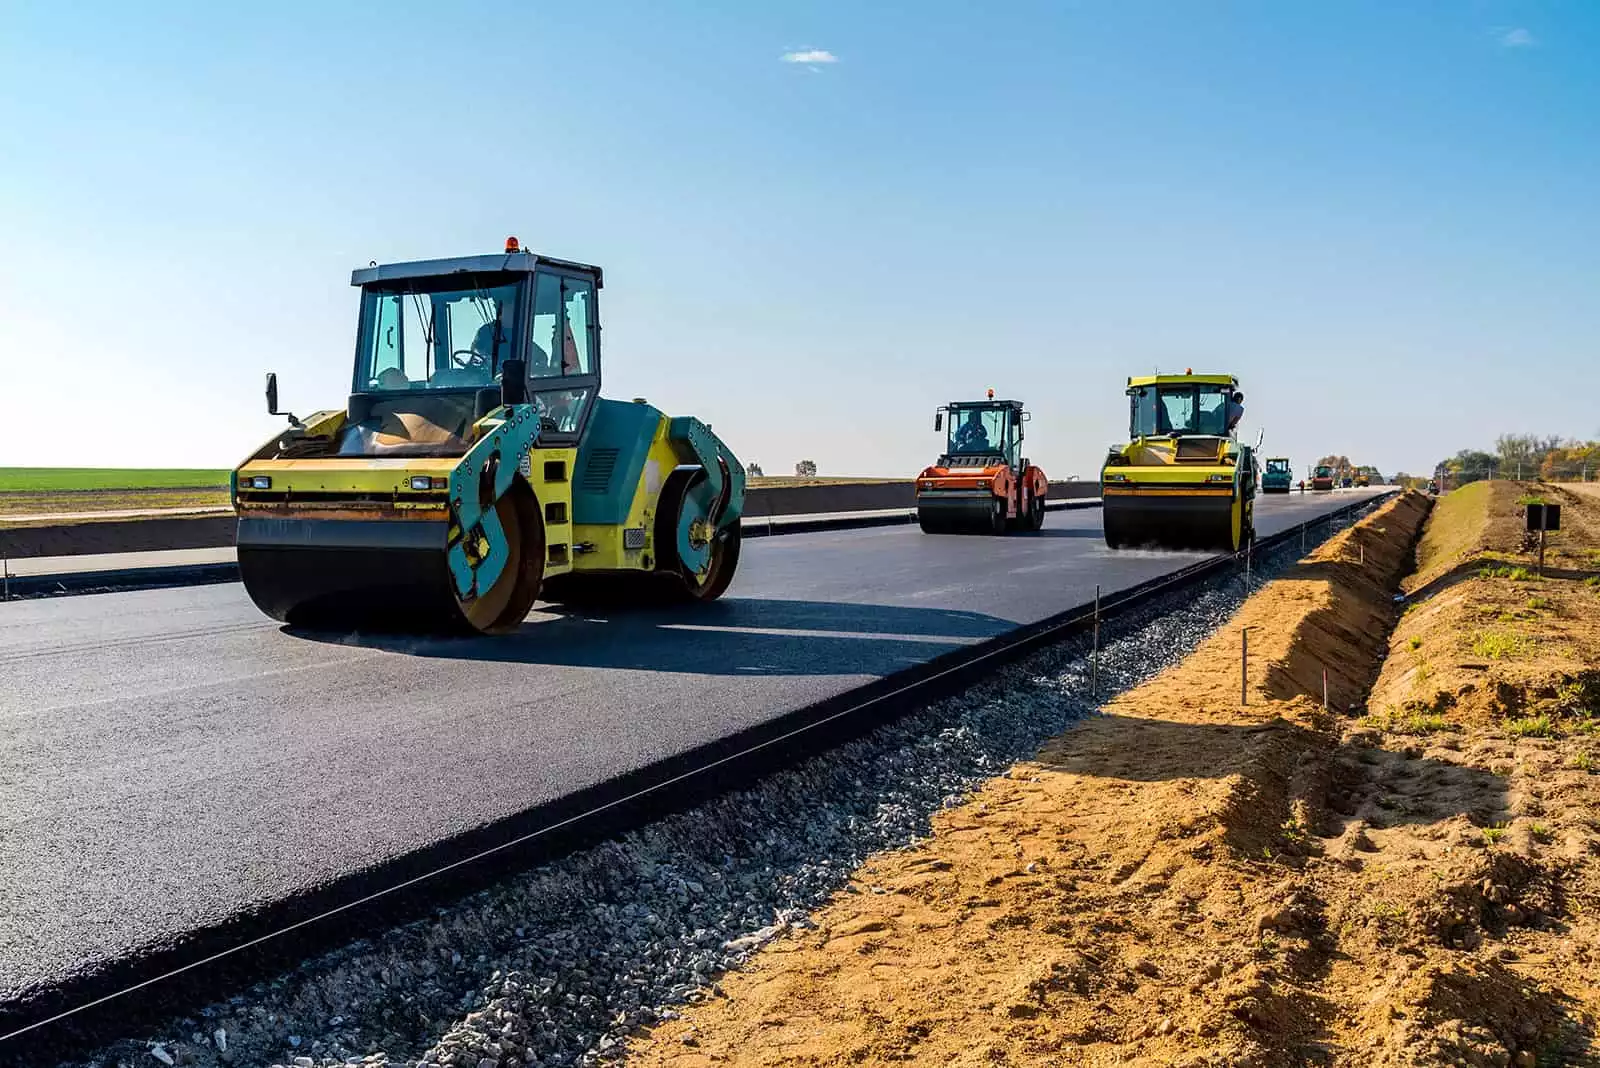
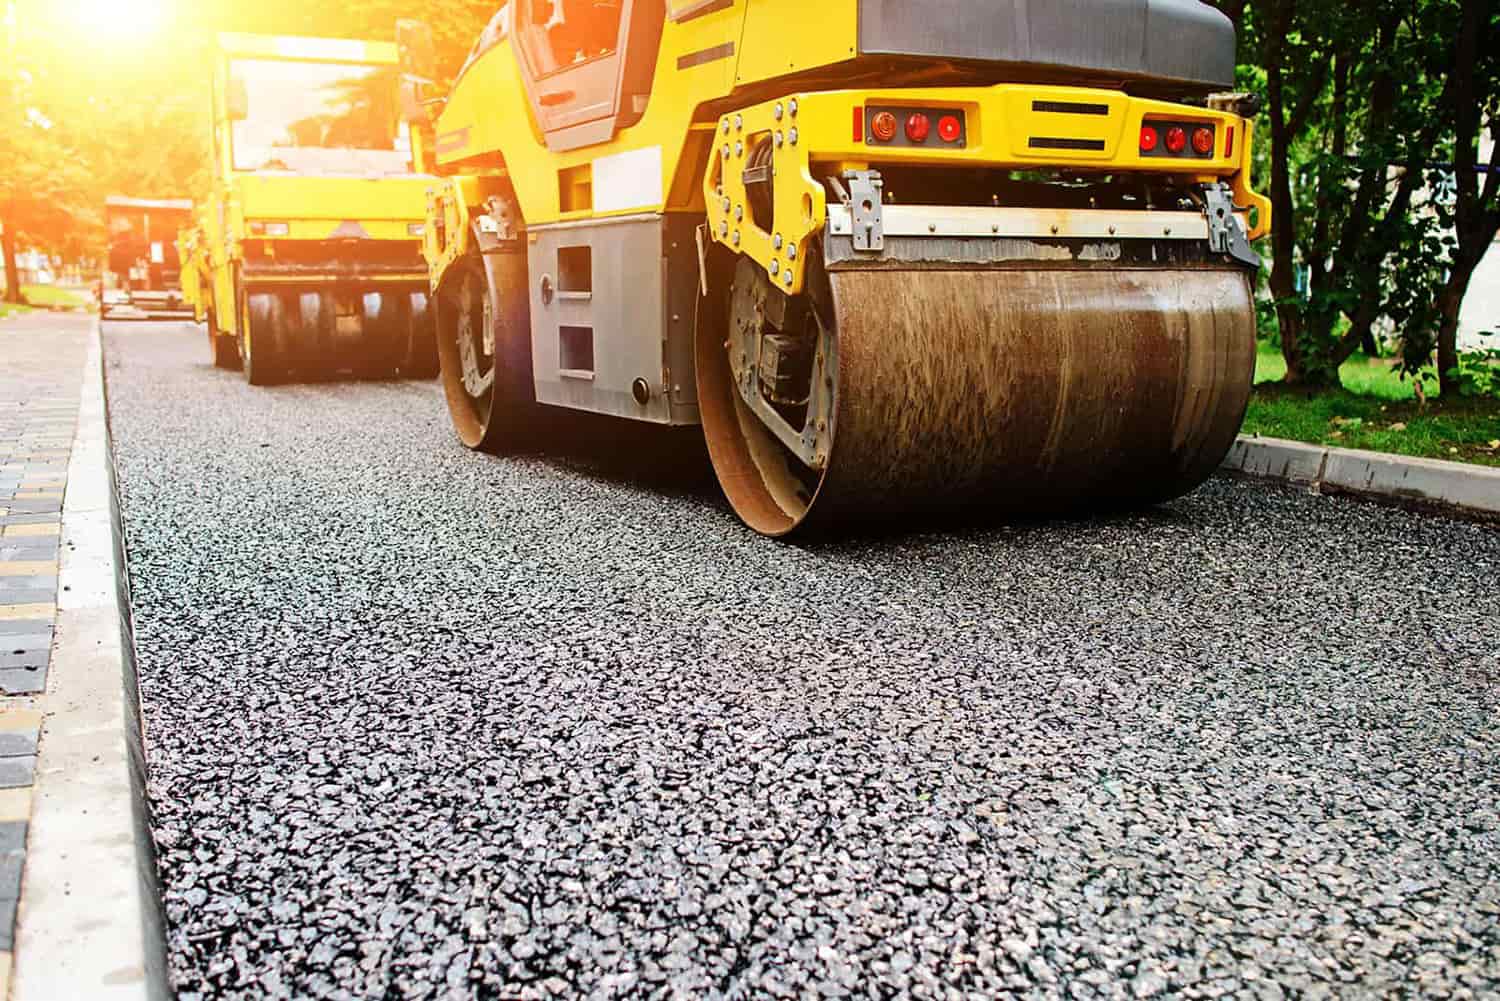
The Road Doctor is family owned and operated with 30+ years of experience providing complete residential and commercial services involving asphalt paving, asphalt sealcoating, hot oil & chip paving, and concrete. We use only state and federally approved materials and take pride in our craft. From a small driveway entrance to a large parking lot, we welcome projects of any size, large or small. The Road Doctor does it all, does it well, and does it cost-effectively. We also provide discounts to current clients and seniors & veterans as well as offering referral bonuses. When quality counts, call The Road Doctor!
Driveway Sealcoating Bloomington
How to Add Driveway Sealcoating
You just added new pavement to your home, and you want to make sure that you get the best driveway sealcoating Bloomington, Illinois has to offer. This process is relatively simple and can be done by many homeowners with ease. The following steps are all you need to do to finish up this project. However, you may want to get professionals to help you, here, to avoid any complications.
Cleaning Up the Surface of the Driveway
When you’re to add driveway sealcoating to your home, you need to take the time to clean the surface, first, to ensure that you get good results. If you don’t clean the surface of your driveway, there is a good chance that dirt, mold, bacteria, and other contaminants could be hard to predict and concern for your driveway. For example, the sealcoat may not stick anywhere nearly as well.
Typically, you’re going to want to use a power washer or a garden hose with a focused attachment to get the driveway wet and to blast away mold and stains. It would be best if you then scrubbed with a stiff-bristle broom combined with various types of driveway cleaners to break apart tree sap, oil, exhaust fumes, and much more from your driveway. This helps to keep it as clean as necessary for this process.
And when you’ve finished up with this scrubbing, it is time to blast away the soap with a power washer and to pretreat the oil stains with an oil spot primer. This primer helps to break apart these stains more quickly and makes it easier to scrub them away. Just as importantly, this step also helps to make your driveway easier to sealcoat later when you get to that step of the process.
Getting Your Sealcoat Ready
At this point in the driveway sealcoating process, you need to get the sealcoat itself ready to apply to your asphalt or concrete. Start by taking the mixing paddle and placing it in the bucket near the top. Lower it to the bottom slowly and cycle it up and down as it spins. This helps to mix your sealcoat and combines the liquid and solid materials into a very consistent fluidity that is easy to apply.
Now, you need to start the sealcoating by taking a dashing brush and using it to spread along the edges of your driveway. These should include the left and right sides and the front and back of your slab. You start at the edges because this helps to get the sealcoat to spread deeper into the surface of your asphalt or concrete. It also helps to make it easier for you to spread evenly without difficulty.
You want to spread the sealer pretty thickly here because you’ll be spreading it out onto the rest of your driveway, and you want it to be as thick as you can get it at first. Don’t worry: you’ll be spreading the sealcoating out further, and it won’t be too concentrated in any one spot. Just know, though, that you’ll be adding more, if necessary, to keep your driveway secure and protected from severe issues.
Pouring Out Your Sealcoat to the Driveway
At this point, you’re just about ready for full driveway sealcoating. Before you start pouring, you need to take each pail of your sealcoat and spread it along the edges of your driveway. Doing this helps reduce your work time and takes a lot of the project’s difficulty. Ensure that you place protective plastic near any area that you don’t want to get splashed with sealcoating.
And make sure that you wear older clothes and shoes as you work, as well, because there’s a good chance that you might get splashed with this sealant. Though it won’t cause any serious damage or health issues, it may stain your clothes a little. Start at one edge of your driveway, near the top, and pour the sealer out of one bucket. It should naturally run a little down the driveway.
At this point, you will use an appropriate brush or broom to spread the sealcoat across the surface of your driveway. Typically, you want to apply slight and even pressure on the broom to move across to the other side of the driveway. You then want to push the puddle as far as it will go before it evens out. Then, pour the next bucket on your driveway and spread it in the same way.
Curing Your Driveway Properly
You can carefully clean all of your tools and put them to the side – once you’ve fully added your driveway sealcoating to the surface, you are done for the day. However, that doesn’t mean that you are finished with the project. Please wait 24 hours before you go out to the driveway and repeat this process at least once to finish it up.
This extra coating is critical because it helps keep the driveway as secure as possible and prevents other issues that may occur, such as complications with the curing that may sabotage your driveway strength. Thankfully, you only need to add two such coats to your driveway before you are done. However, it would help if you now waited for the driveway to cure and dry before driving on it.
As a result, it is vital to find a place to park your vehicles during this time – talk to your neighbors to see if they are okay with this step or park on the road if needed – and to put up warning signs for other drivers to stay off your driveway. If possible, place up barriers that will keep dirt and debris from getting on the driveway. This step helps to protect your sealcoating further.
Do You Want Our Help?
As you can see, the best driveway sealcoating in Bloomington, Illinois isn’t too complicated. However, you may also find that you can’t quite get this process right or that you need extra help to ensure that it is done correctly. If this describes you, please contact us at The Road Doctor right away to learn more. Our experts will do what they can to ensure that your sealcoat is appropriately applied and practical.
Testimonials
Past Clients